A CAS ITS Technician may need to access your computer remotely to resolve issues. By using "CAS Remote (Screen Connect)," you can allow outsider access to your device.
Back to topConnecting from Windows
CAS Remote (ScreenConnect) is already pre-installed on all CAS-supported Windows PCs.
To start a remote session, open the Start Menu:
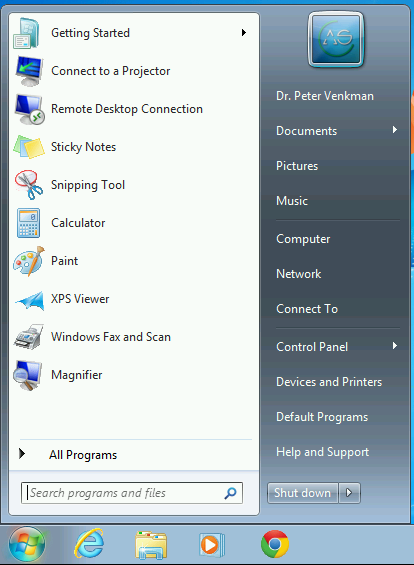
Click "All Programs":
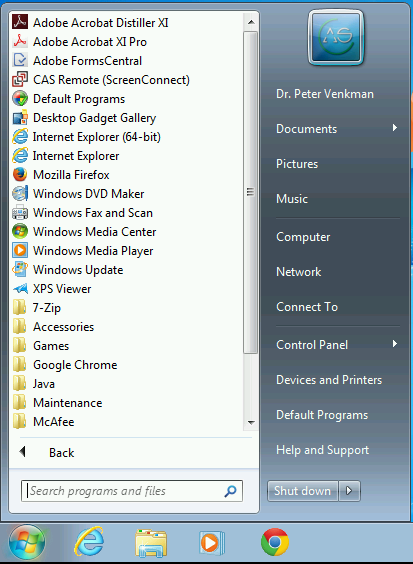
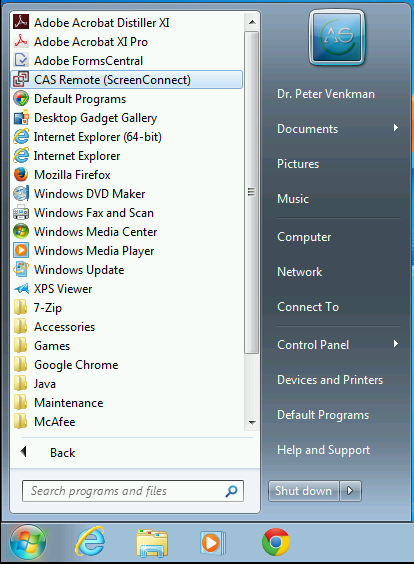
Toward the top of the list, click on "CAS Remote (ScreenConnect)":
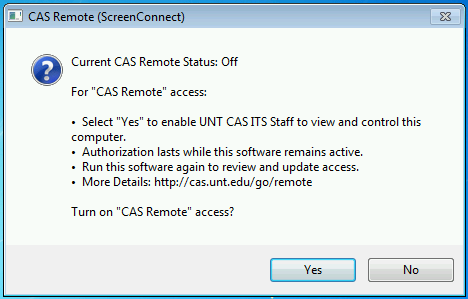
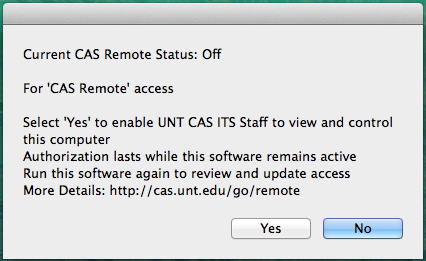
A new window will open. Click "Yes":
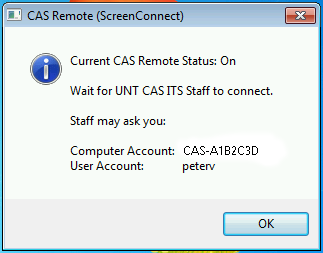
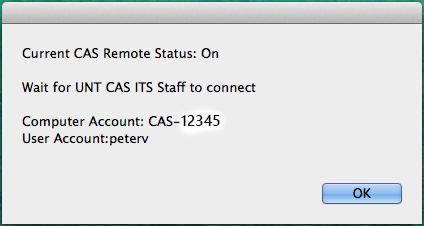
Another window will open, and you should be ready. *Leave this window open.* It contains information that the CAS ITS technician may ask you for. Your "Computer Account" is the same as your "Service Tag":
Alternate Procedure
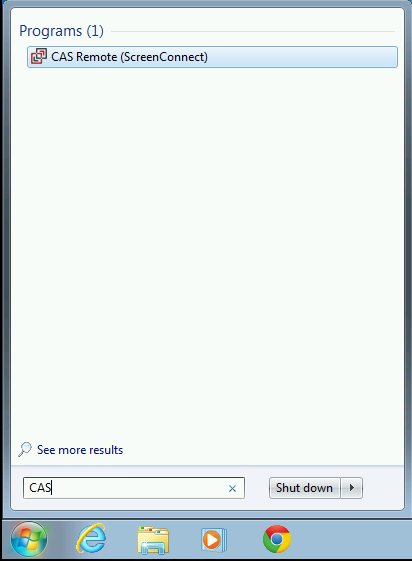
To start a remote session, open the Start Menu:
In the Start Menu search box, begin typing out "CAS Remote..." and it will typically show up. Click on it:
A new window will open. Click "Yes":
Another window will open, and you should be ready. *Leave this window open.* It contains information that the CAS ITS technician may ask you for. Your "Computer Account" is the same as your "Service Tag":
Connecting to an RDP session
If a user calls needing remote assistance on an office computer they are connected to using Windows RDP we can connect to it by switching to the correct logon session.
After connecting to the CAS Remote session you can switch logon sessions by hovering over the View tab at the toolbar and changing the 'Select Logon Session' dropdown to the callers EUID.

Connecting from macOS
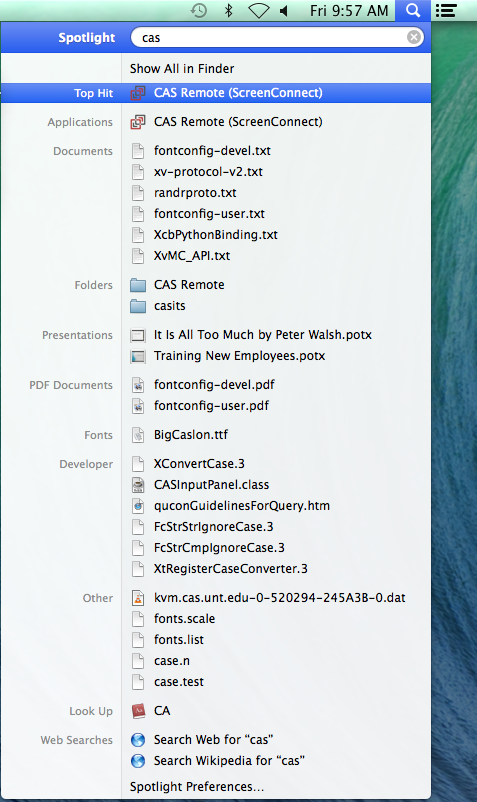
Click on the "Spotlight" in the top right, and type "CAS". You should see an application called "CAS Remote (ScreenConnect)":
A new window will open. Click "Yes":
Another window will open, and you should be ready. *Leave this window open.* It contains information that the CAS ITS technician may ask you for. Your "Computer Account" is the same as your "Service Tag":
Alternate Procedure
Open a web browser, and type "remote.cas.unt.edu" in the address bar:
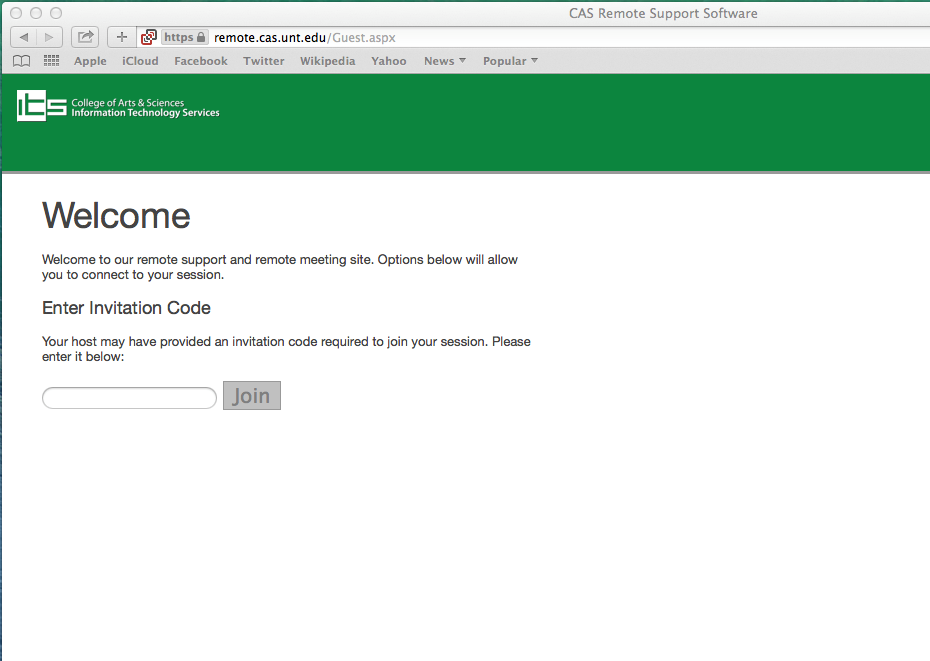
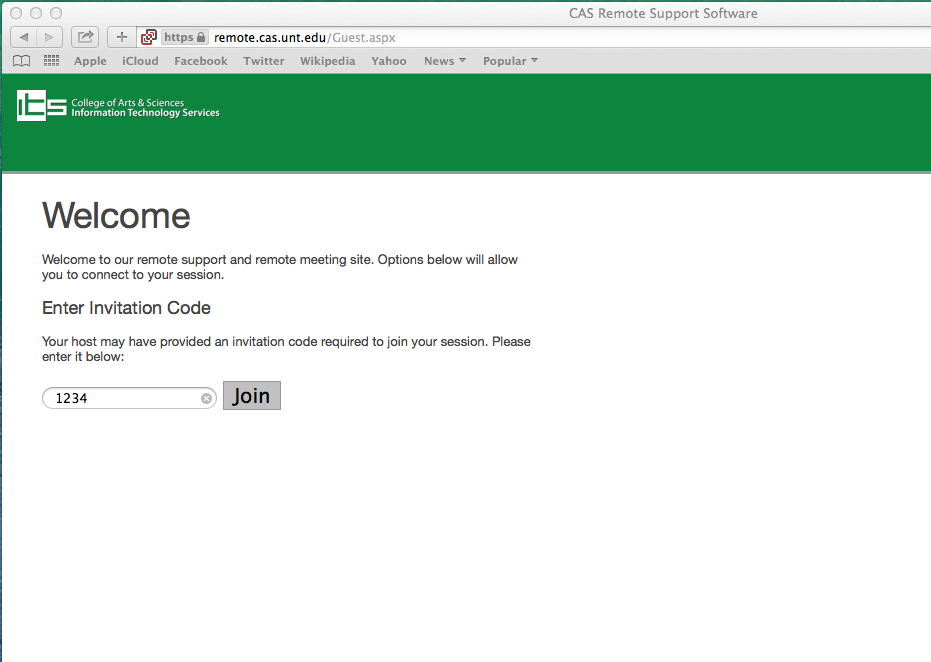
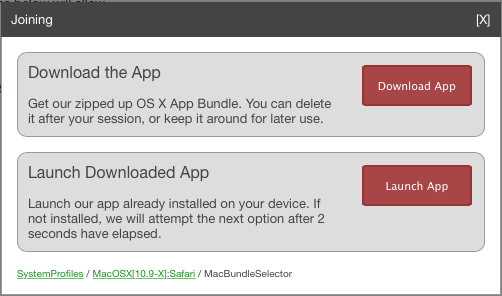
The CAS ITS Technician will give you a specific session code. Type it in the box and click "Join":
A small box will pop up. Click "Download app":
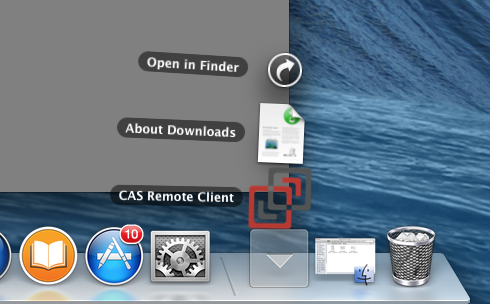
Another small box will pop up to show you the next two steps. Check your Downloads folder and open "CAS Remote Client". If you receive another security box click "Open":

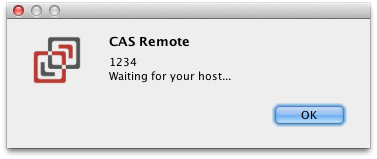
Now you should see a box in the top right of your screen that says it is "Waiting for your host...". You are now available for the technician to find:
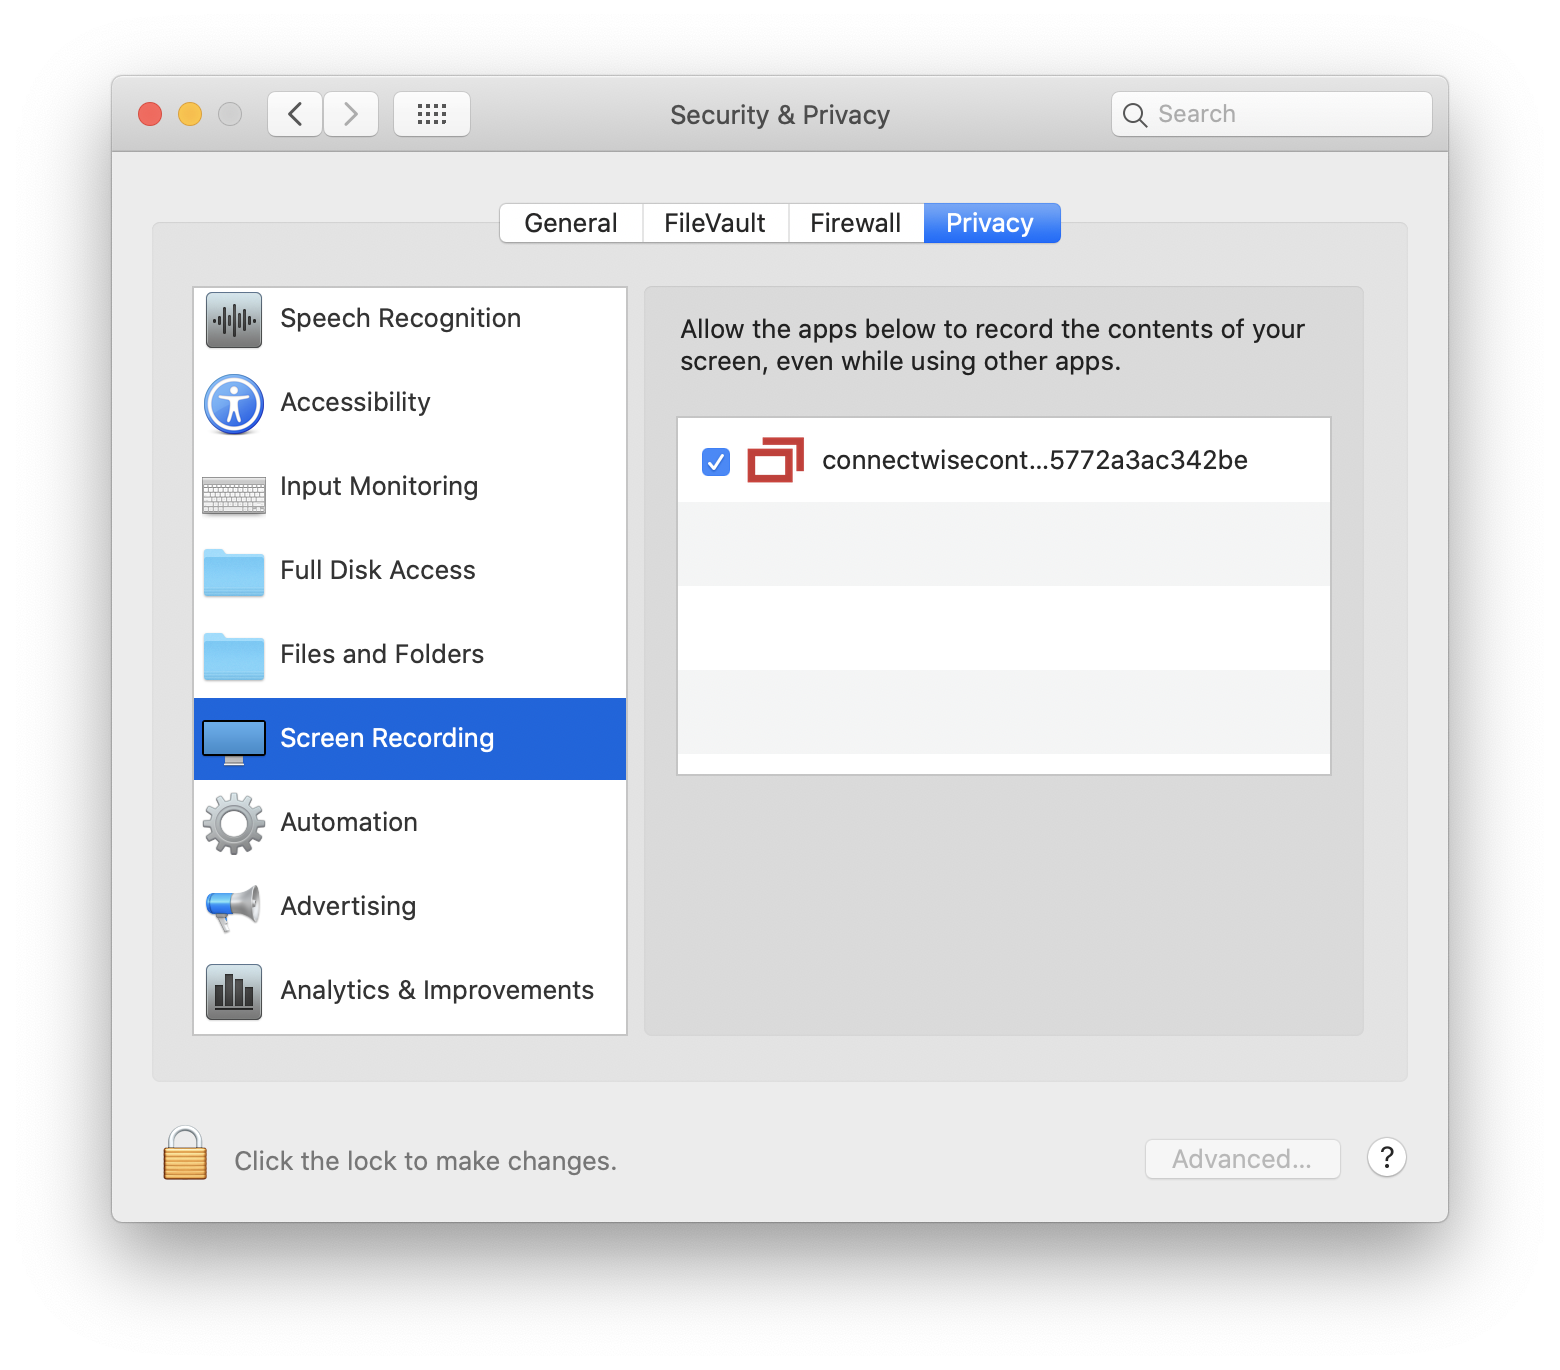
macOS Catalina (and newer)
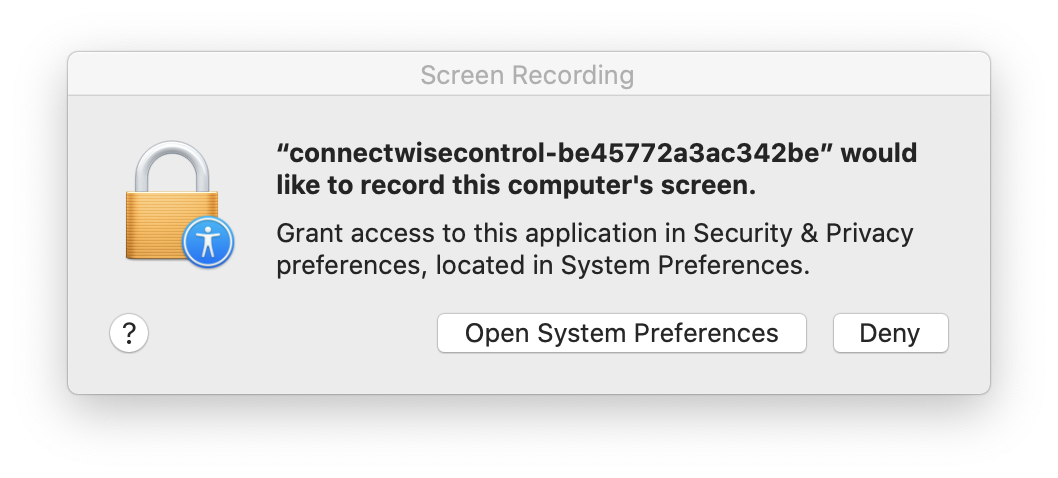
Due to increased security and privacy measures implemented by Apple starting with macOS Catalina, end users (you) must grant our remote software access to your machine before our technicians will be able to view or control your machine.
If you recieve this prompt when launching CAS Remote, follow this process to allow our technician to assist you remotely.
- Click the button to Open System Preferences
In System Preferences:
- Scroll down the list and click on Screen Recording
- Next to connectwise, click the check box
- Close System Preferences